This blog post chronicles my journey as a sports photographer, from Ground Zero to wherever I am now. I’m not an amateur, and I’m not a professional. I’m somewhere in-between. I shoot for a local newspaper, as well as MaxPreps and a national wire service. I cover Division 1 & 2 NCAA college sports and many high school sports.
I’ve learned alot but I’m far from done, and thank goodness for that. I’m always learning, and always trying to get better. But something happened recently that made me stop and reflect about where I am today. The other night, while I was shooting some D2 college basketball, 2 different people came to me at different times while I was on the court to ask about settings on their cameras. I guess they saw me sitting on the baseline and thought I looked like I knew what I was doing! So that got me thinking about how much I’ve learned so far in my growth as a sports photographer.
The fact that they approached me was very flattering, and I hope that I’ll always feel that way. I’m happy to help teach people who don’t know what I know learn so that they know (you know?!). When I was first starting out, I had a million questions, and was lucky enough to work with some folks who were patient enough to answer them and teach me.
Find a Good Mentor
Starting out, I literally didn’t know any sports photographers, locally or otherwise. So along with my friend Google, I starting researching and I made a list of sports photographers in my area. I sent as many emails as I could, contacting anyone and everyone. At first, I asked them if I could simply visit with them and ‘pick their brain’ about things I could do to get into this business. Like any bold canvassing campaign, most requests went unanswered, but not all of them, and the few that replied to me were invaluable. I met with them, asked them some of my million questions, and asked them to critique my sports photos. Up to this point, these photos were mostly of my kids high school and youth sports. The constructive criticism I got was amazing, and really gave me the motivation and desire to improve. I wanted to shoot the kinds of photos they shot, and I was willing to do what it took.
Be Willing to Work for Free
Can you see where this is going? These initial contacts I made were great, and with one fellow, I asked if I could tag along with him and shadow him as he shot sports. Fortunately, he was willing to help me, and I got some great experience shooting Division 2 college sports, which I’d never have had a chance to do on my own. I wasn’t shooting for a company, an agency, a wire service, or a publication- I was simply shooting for experience. This photographer agreed to let me tag along, and I agreed not to sell any of the photos I took (the NCAA has strict rules about how photos can be sold). Being able to shadow him and see what he did was awesome. I watched and learned as he explained where he shot from on the field and why, what he looked for in his photos, and thankfully, he was patient enough to answer my many questions. My photos got better, and my desire grew stronger.
I was hooked.
So what’s next? Well, learning like this is great, and it’s important to be willing to work for free, but I soon realized that the consumer-level gear I had was limiting, and so my next step was to find some opportunities to earn while I learned. Luckily, another one of those mass mailing emails came through, and I hooked up with a company that shot high school action sports. This gave me an amazing opportunity to earn some money to gradually upgrade my gear. It also gave me a chance to borrow their pro-level gear and see the differences between it and my gear. As I was able to afford better gear, it also opened up more opportunities for me to get assignments from them, because they could send me out on my own with my gear, and it wouldn’t tie up their gear. It worked out well for both of us.
[NOTE: this is the part of the story where some folks will say something like, “it’s not the gear, it’s the photographer”, which I don’t argue with. However, there are certain things that better gear simply do better. That’s all.
Know Your Gear
I love photography and I love sports. So it’s no wonder that I also love sports photography. But sports photography is very different from other kinds of photography. For example, there are often technical decisions you need to make with your camera as you shoot, and you need to do this very quickly. You see, sports photographers are allotted zero timeouts during a game! It’s important to be able to make adjustments on the fly with your camera with muscle memory, so that you don’t miss a beat. Some of these might be exposure settings, like changing a shutter speed from 1/320 sec to 1/1000 sec as you change from shooting a timeout and back to live action. Be sure that you know your gear as well as possible, so that it doesn’t slow you down when you need to make these kind of adjustments.
Raise Your Standards
One of the companies I shoot for is MaxPreps. For those of you who don’t know who they are, they’re owned by CBS Interactive, and they’re essentially the high school division of CBS Sports. They’re also know for their high quality photos. I was fortunate enough to be accepted as a MaxPreps Pro Photographer, which gives me the opportunity to cover just about any high school sports event. But being accepted isn’t easy. Most folks aren’t accepted, at least on their first try, mostly for photo quality reasons. Becoming a MaxPreps photographer has raised my game, because each gallery I shoot gets reviewed, and if the photos aren’t good enough, they’re rejected. Shooting to this standard has made me look at my photos much more critically. Many of my photos which I used to consider good, I now reject myself, because I hold myself to the same MaxPreps standard. This has just been a long-winded way of telling you to be very critical of your work. Be your own toughest critic. You’ll raise your own bar and become a better photographer.
Know the Game
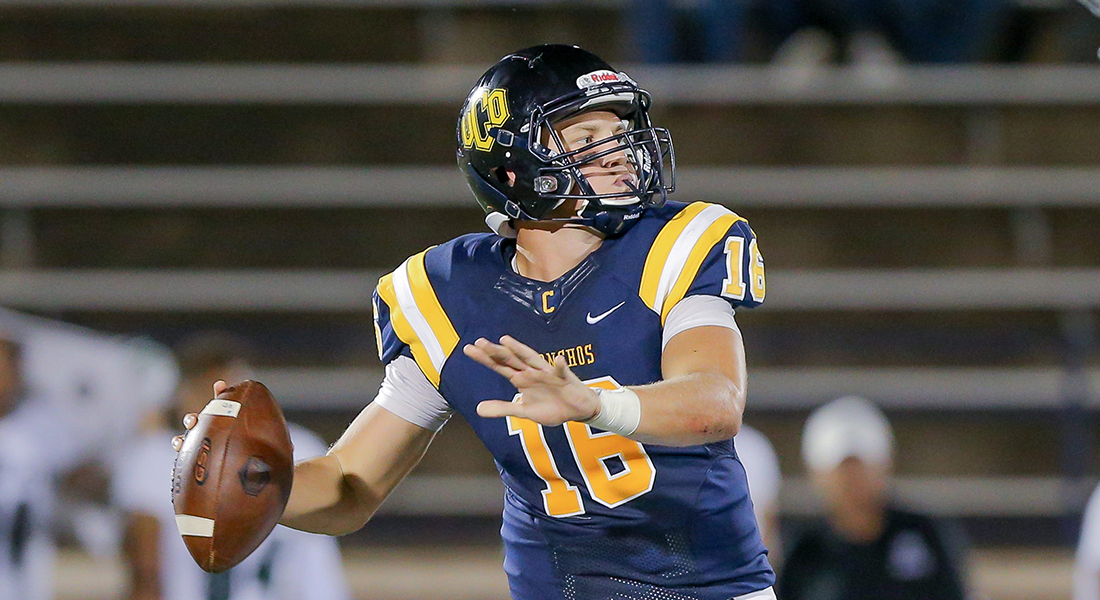
Being in the right place at the right time doesn’t always get you a winning photo, but it helps. Knowing the sport you’re shooting will help you decide where to shoot from and what to look for. For example, if you’re shooting football, it’s important to know the rules of the game, and to understand the flow. It’s important to understand the tendencies of a quarterback to throw a long pass on 3rd down as he rolls out to his right. This will help you be in position to capture the shot you’re looking for. It doesn’t always happen, but you’ll be in a better position than folks who don’t know what you know. And whatever you do, be sure you’re never part of the game. Understand where it’s ok for you to shoot from and where it’s not. Be respectful and mindful of where photographers are allowed on fields, in arenas, or wherever. If I’m at a new location and unsure if it’s ok to shoot from a certain spot, I make sure to ask someone in charge ahead of time.
Shoot Low
Most sports photos look better when shot from a low perspective. Football, soccer, basketball, you name it. A low angle simply looks better. It can add drama. It can make the athlete look larger than life. So get low and shoot low. For example, I shoot football on my knees (some folks will even lie on their stomachs for a low perspective). For basketball, I usually sit on the baseline. The lower, the better.
Two Eyes and a Ball
A great piece of advice I got early on about shooting sports is that it’s important to capture two eyes and a ball. The eyes will often show you the emotion of the athlete- it could be a look of confidence, concentration, fear, surprise, you name it. But no matter what, the eyes show you the personal side of the athlete. The ball gives context to the photo. It puts you in the action with the athletes. This is such an important concept that I wrote an entire blog post about it. You can read that here.
So that’s alot. But it’s not all, and thank goodness for that. This is much of what I’ve learned so far, but I have a feeling that in a few more years, I might look back on this blog post and think, “Boy, I really didn’t know much at all back then!”. Hopefully, it’ll help you as an aspiring sports photographer, and help you learn more than you already knew.
Give Back
I’ve worked hard to get where I am, and I still have A LOT more to learn. But I’m starting to reach a level where my hard work is paying off. I appreciate the time that certain photographers took to help me learn and grow. I appreciate them letting me tag along and ask endless questions, and I appreciate the constructive criticism they gave me to help me understand what could make my photos better. So when you reach a certain level of achievement, give back. Give back to less experienced photographers and help them along, just as others may have helped you. And you’ll be surprised at not only how much you might have to share, but also how fulfilling it can be to help others.


